
If seed starting feels confusing, I keep it simple: the right light, a basic tray setup, and a repeatable watering routine. This guide walks me through a beginner-friendly seed-starting setup, a week-by-week plan, and the most common mistakes that cause leggy or weak seedlings.
Long Article Text
What “successful seed starting” really means
When I start seeds indoors, I’m trying to get seedlings that are:
- short and sturdy (not stretched)
- healthy green (not pale)
- ready to transplant at the right time
Most failures come from two things: not enough light and too much water.
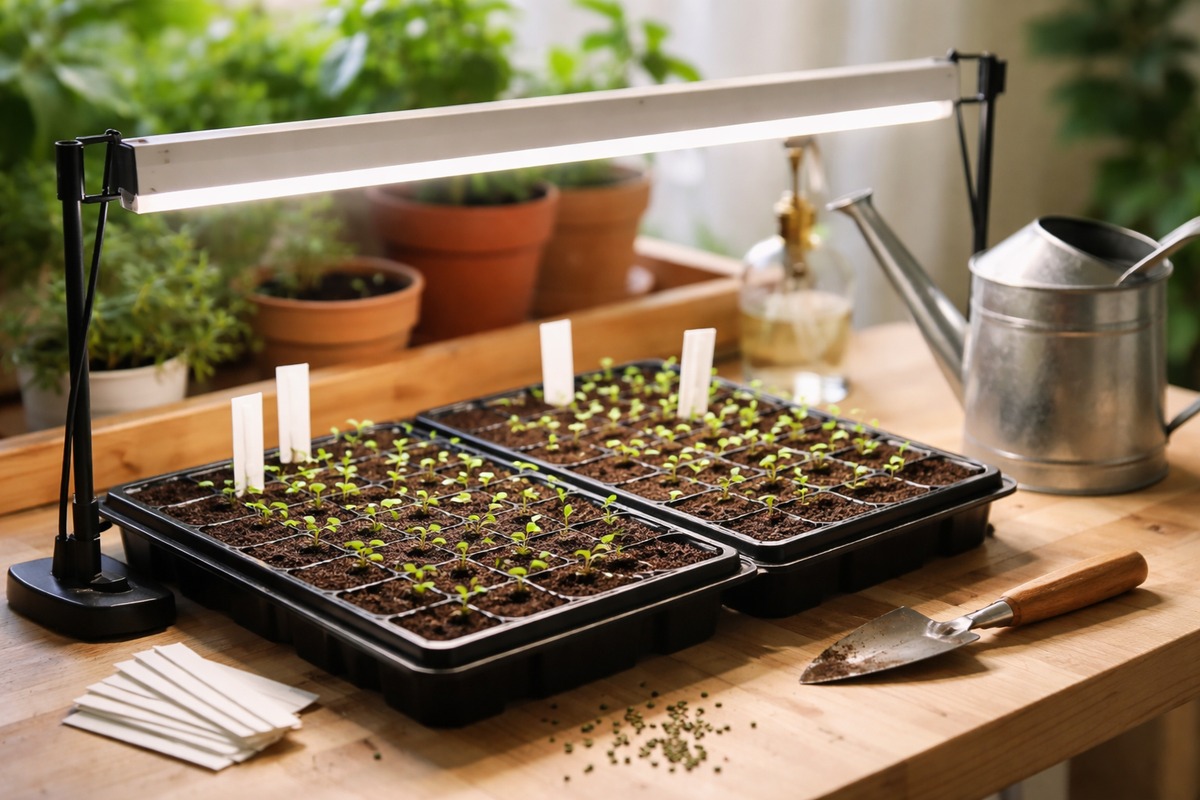
My beginner seed-starting setup (minimal + reliable)
I don’t need fancy gear. I need these basics:
1) Light (the #1 upgrade)
A sunny window is usually not enough. I use a simple LED grow light setup so seedlings stay compact.
- Keep light close (a few inches above seedlings)
- Run it consistently each day
- Raise the light as seedlings grow
2) Containers
- Seed tray with cells, small pots, or even recycled cups (with drainage holes)
- A tray underneath to catch water
3) Seed-starting mix (not garden soil)
Seed-starting mix is light and airy so tiny roots can breathe. Garden soil compacts and causes problems.
4) Labels
I label everything immediately (future me will thank me).
Timing: when I should start seeds indoors
Timing is the difference between “perfect seedlings” and “too big too early.”
My simple method:
- Find my average last frost date
- Read seed packets for “start indoors X weeks before last frost”
- Start with easy wins (tomatoes, peppers, basil, zinnias)
If I start too early, seedlings outgrow containers and get stressed.
The step-by-step process I follow
Step 1: Pre-moisten the mix
I dampen the seed-starting mix before filling cells. I want it like a wrung-out sponge.
Step 2: Fill and lightly press
I fill cells and gently press so there aren’t big air pockets.
Step 3: Plant at the right depth
Rule of thumb: plant seeds about 2–3× the seed’s thickness (unless the packet says light is needed).
Step 4: Water gently
Bottom watering is easiest: I pour water into the tray and let cells soak up what they need.
Step 5: Warmth for germination
Many seeds sprout faster with warmth. Once they sprout, light becomes the priority.
My “first 2 weeks” routine (where most people struggle)
Day 0–germination:
- Keep evenly moist (not soaked)
- Cover loosely if needed to hold humidity
- Check daily
Once sprouts appear:
- Remove cover
- Put under strong light immediately
- Start light airflow if the room is still
Watering: how I avoid damping off and weak seedlings
I water when the top starts to look dry, not on a strict schedule.
Signs I’m overwatering:
- constantly wet soil
- green algae on the surface
- fungus gnats
- seedlings falling over at the soil line
Best habit: let the surface dry slightly between waterings.
When (and how) I start fertilizing
Seedlings have limited food in seed-starting mix.
Once I see the first set of true leaves, I start feeding lightly with a diluted fertilizer.
Potting up (if seedlings outgrow their cells)
If roots fill the cell or seedlings look cramped, I pot up:
- move to a slightly larger pot
- bury tomatoes deeper (they can form roots along the stem)
- keep light close
Hardening off (the step I never skip)
Before transplanting outside, seedlings need a transition.
For about a week, I gradually expose them to:
- wind
- direct sun
- cooler nights
This prevents shock and sunburn.
Quick troubleshooting
Leggy seedlings → light too weak or too far away
Yellow leaves → overwatering or not enough nutrients
Slow growth → cold temps, weak light, or cramped roots